Courtesy of Jared Regier, Chain Reaction Urban Farm, Saskatoon SK
We are putting a boulevard space into production this season. It happens to be right across the street from our home and has full sun exposure. It will take a bit of extra work to roll out and clean up a water line each time we irrigate, but we will save a lot of travel time. We are mindful of the risk involved in having our crops out in the open but we will avoid tempting crops like tomatoes and hopefully minimize theft.
Neighbours have told me that they have seen nothing but grass in this boulevard space for as long as they have lived there. In some cases this means up to 60 years. Some of them admitted to mowing it once in a while but that is about as much action as it has seen. The boulevard garden registration process with the city of Saskatoon simply requires approval from adjacent land owners and compliance with a few height restrictions and setback allowances from the curb. Thankfully, the neighbours have all been on board with our efforts so we have been able to march ahead steadily.
Once the plot was registered officially, I got to work. Here are the steps I followed to prepare the soil for vegetable production. These steps should work pretty well for any new ground if you are starting a garden with a similar piece of land.
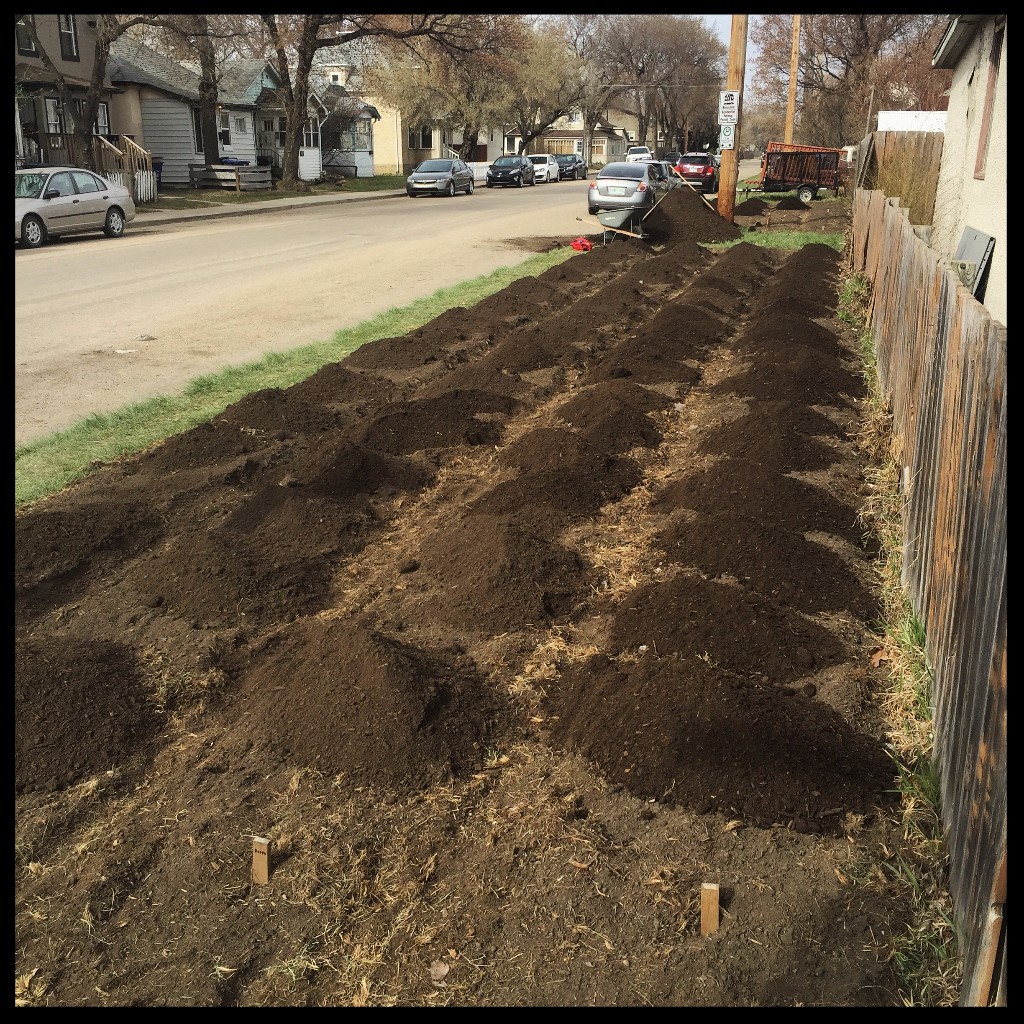
Step 1: The ground was very compacted so I dug a large part of it by hand with a spade as a first step just to help our
rototiller get a little deeper. I did not remove the grass because it is still valuable as decomposing organic matter in the
soil.
Step 2: After spading, I immediately tilled the entire plot thoroughly, just letting the tiller go as deep as it could manage, which which was only 2 to 4 inches at this stage.
Step 3: I waited a couple of weeks to let any surviving grass use up some of its energy to get reestablished. There were a few areas with quack grass that required careful removal of the roots at this point.
Step 4: I broadforked the entire plot to make it possible for my tiller to work a little deeper. This was time consuming but made a big difference.
Step 5: I tilled the plot again thoroughly and was able to get much deeper this time thanks to the broadfork work.
Step 6: I measured and marked the standard sized beds. From this point on, I will never walk on the bed space.
Step 7: Next, I ordered 8 yards of screened compost and top dressed each bed with a layer about 4 inches thick. I simply spread the compost on the surface so it can act as a mulch to suppress new weeds and also still enrich the soil. Worms and water will slowly work for me to distribute the nutrients and organic matter from the compost into the rest of the soil below.
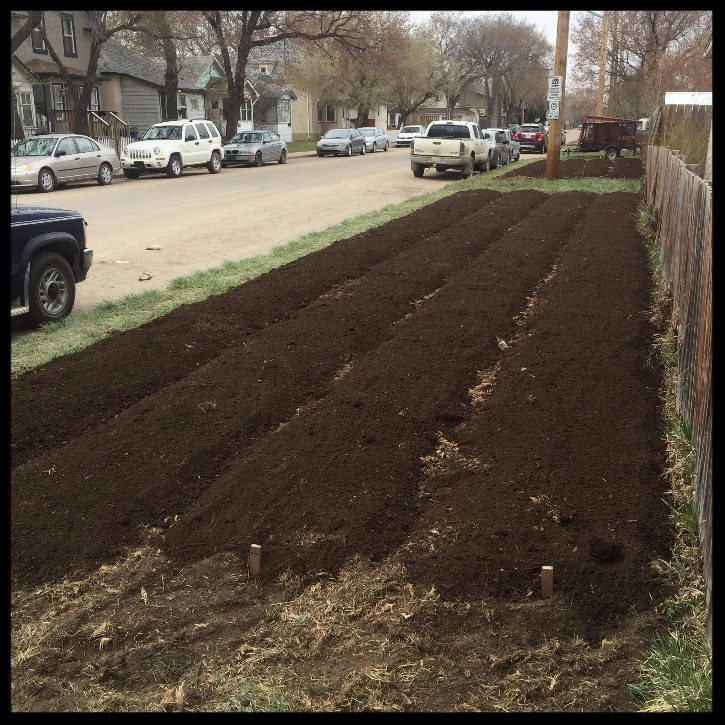
There you have it. Now that the soil is prepped for planting, the only setup work left at this plot is the irrigation system. I will be trying a new style of micro sprinkler at this location which I am excited about, but the details will need to wait for another day. I will explain more about this system in the future after I have had some time to use it for a while.
reprinted from Chain Reaction Urban Farm newsletter.
WHAT OTHER UNCONVENTIONAL SPACES DO MEMBERS USE TO GROW THEIR BACKYARD BUSINESSES? FIND OUT IN THE FORUM > > >